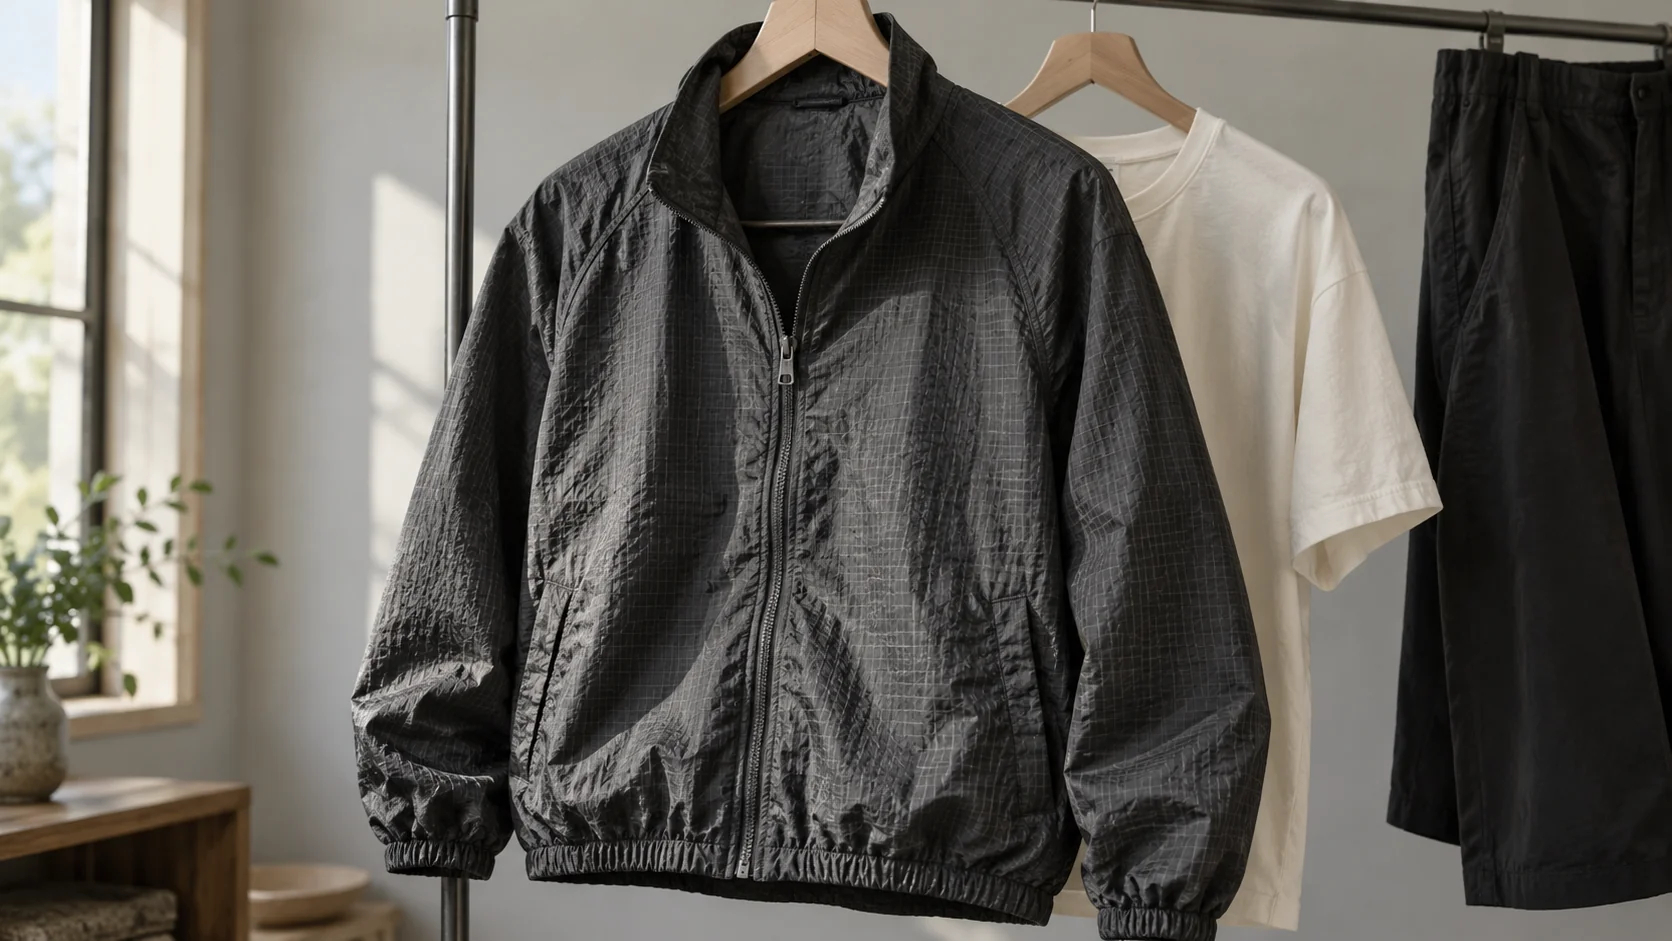
Ripstop nylon fabric is nylon cloth woven with a reinforcing grid that helps resist the spread of a tear. For a streetwear jacket, overshirt or trouser, read three things separately: denier describes the yarn, GSM describes the cloth’s mass per area, and the grid describes its reinforcement pattern. Use those details to compare fabrics, then check how the finished garment hangs and moves over your usual layers.
- Fibre: the composition label identifies nylon; a visible grid alone does not identify the fibre.
- Weight: record both the yarn denier and the fabric GSM, together with the finish.
- Wear: inspect the actual folds, cuffs and hem with the pieces you intend to wear underneath.
What is ripstop nylon made of?
Ripstop nylon uses nylon yarns, with reinforcing yarns incorporated into the weave at intervals. Those reinforcement lines cross to form the familiar grid. The fine fabric between them and the more prominent grid belong to the same woven cloth.
“Nylon” names the fibre; “ripstop” names the construction. Other fibres can also be woven into ripstop. Ottertex, for example, lists separate nylon and polyester ripstop fabrics. When you are identifying a garment, pair a close look at the weave with its fibre-content label.
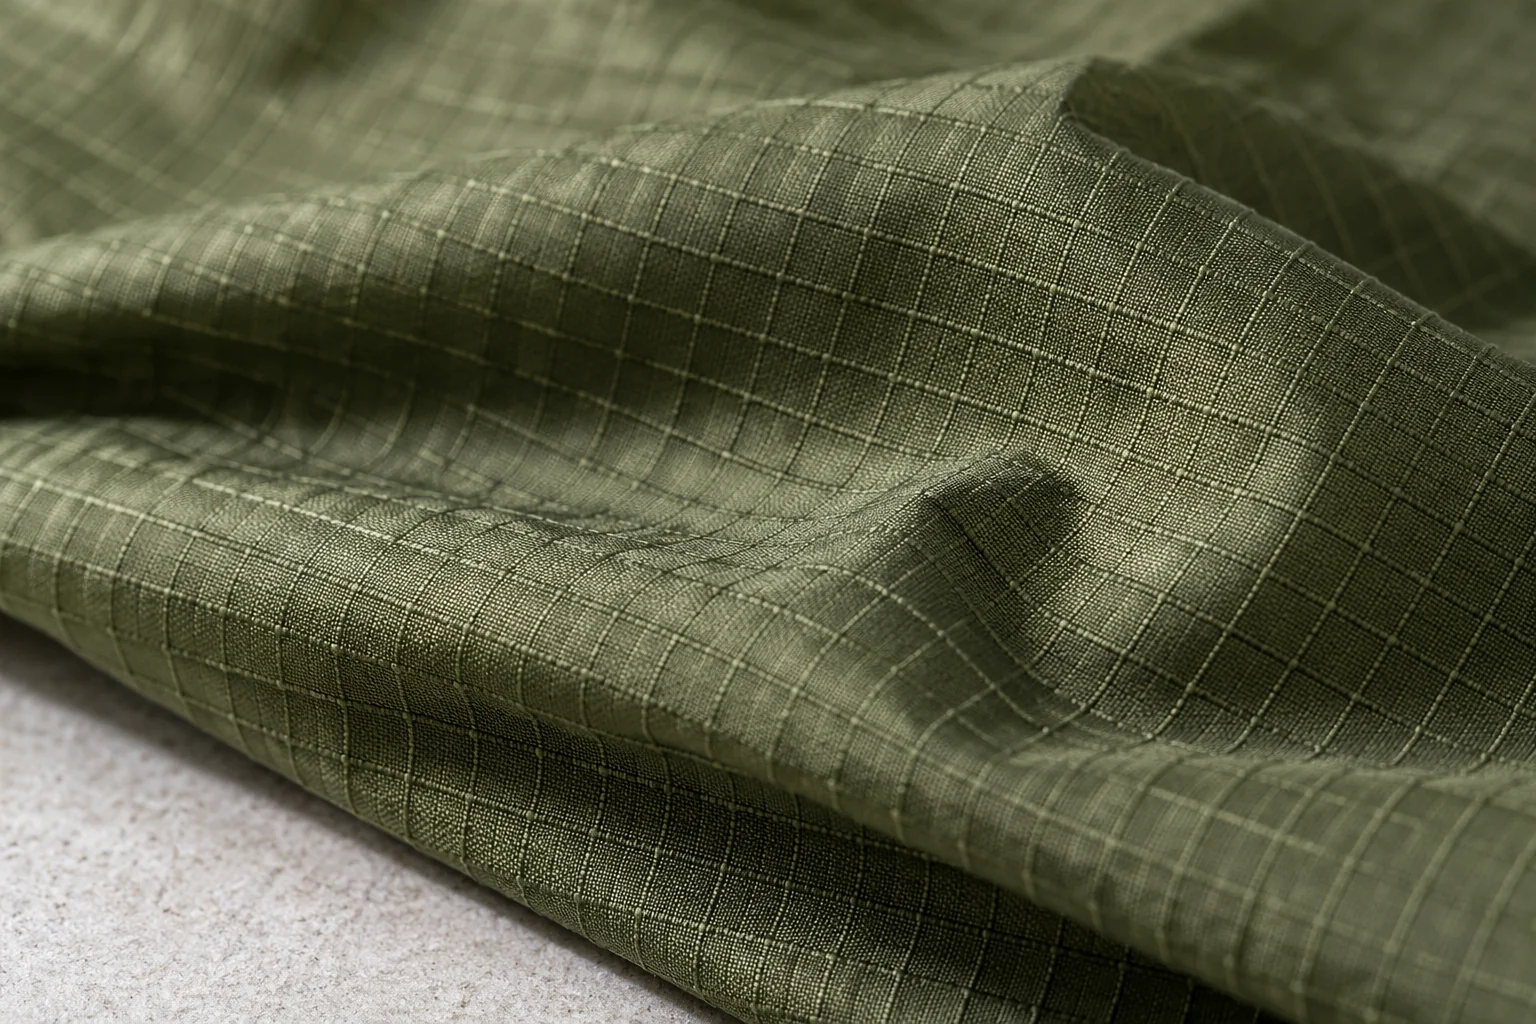
A coating or finish adds another specification. Flagship’s NR210CP sheet lists the fabric as 100% nylon and lists a coloured polyurethane (PU) coating separately. Read a fibre percentage as the composition of the textile component it describes, then check the finish and lining information alongside it.
That distinction helps when two jackets both say “nylon ripstop” but feel different in the hand. Start with their full fabric descriptions before treating the shared name as an exact material match.
Denier and GSM measure different things
Denier measures the mass of a length of yarn. GSM measures the mass of an area of fabric. Keep both numbers when comparing candidates: the yarn label alone leaves the fabric weight unresolved.
Cotton Incorporated’s Textile Yarns technical bulletin defines denier as the number of grams in 9,000 metres of yarn. Written as a formula:
Denier (D) = 9,000 × yarn mass (g) ÷ yarn length (m)
A higher denier means more mass over the same yarn length. It is a linear-density measurement, rather than a direct measurement of yarn diameter. A specification such as 30D × 30D gives the yarn deniers for the two fabric directions; it does not mean 60D cloth.
GSM = fabric mass (g) ÷ fabric area (m²)
For garment shopping, GSM is useful for comparing the mass of equal areas of cloth. A finished jacket’s total weight also includes its lining, zip, pockets and other components, as well as the amount of fabric used in its cut.
Can you convert denier to GSM?
There is no single denier-to-GSM conversion. You also need to know how much yarn is packed into the cloth and what finishes or coatings are included in the stated fabric mass. The two 70D specifications below demonstrate the practical difference: one lists 70 GSM and the other 80 gsm.
Four supplier specifications: 30D, 70D and 210D
These named fabrics show how yarn size, cloth weight and finish appear together on a specification. The table compares supplier metric specifications, October 2026.
| Fabric and source document | Yarn denier | Fabric mass | Listed finish and use context |
|---|---|---|---|
| Flagship 7020-T1 — 30D Ripstop Nylon 6.6 Fabric data sheet | 30D × 30D | 36 g/m² | Anti-fusible finish; parachute fabric |
| Ottertex — Nylon Ripstop (DWR Coating) product description | 70D | 70 GSM | Durable water-repellent finish; jackets, windbreakers and tracksuits among listed uses |
| Paskal — 70 Denier Ripstop Nylon specification sheet | 70D | 80 gsm | PU-coated and FR-treated nylon |
| Flagship NR210CP — 210D Ripstop Nylon data sheet | 210D × 210D | 185 g/m² | Coloured PU coating; raincoats among listed uses |
Flagship describes its figures as averages or estimates and gives a ±3% fabric-weight tolerance. Its 30D parachute cloth provides a fine-yarn specification example; apparel suitability needs the specification for the actual garment fabric.
The two 70D entries are the useful comparison here. Matching denier can still mean different cloth mass and finish. Consider each fabric’s complete construction when explaining that difference, and ask whether a quoted weight includes its coating. For a jacket, also establish whether the quoted grams refer to the shell cloth or the whole garment.
How the ripstop grid works
The grid places reinforcement through the cloth in both directions to help resist a tear as it spreads. Its appearance tells you where those reinforcement lines run; its performance depends on the particular fabric construction and test conditions.
Grid spacing varies between products. Ottertex’s DWR nylon description gives a repeat of ⅛ inch in both directions, approximately 3.2 mm. Flagship’s 7020-T1 sheet specifies 0.4 × 0.4 cm, a 4 mm square. Read spacing from the fabric’s own specification, or inspect a flat sample alongside a scale when comparing the appearance of two grids.
Treat grid size as a construction detail. For a strength comparison, use the fabric’s test data with the method and fabric direction attached, rather than ranking samples by the smallest visible squares.
What does a tear-strength test tell you?
ASTM D2261-13(2024) describes a tongue-tear method that measures the force involved in extending a tear already started in a fabric specimen. ASTM says results support comparisons between similar fabrics tested and measured in the same way.
Starting a hole, extending a tear and wearing away a surface are different damage questions. Match the evidence to the one you care about: for repeated rubbing at a trouser seat or under a bag strap, ask about abrasion performance as well as the cloth’s tear strength. Keep any tear result attached to its named method and direction so that unlike tests do not become a misleading ranking.
If you already own a garment with damage, use the clothing repair consultation checklist to document the affected area and discuss a repair. The ripstop grid is one detail of that cloth; inspect the whole damaged area before deciding what it needs.
Choose the feel and shape of a streetwear layer
Choose the fabric-and-cut combination that produces the folds and movement you want. Cotton Incorporated identifies yarn size as one influence on fabric weight, stiffness and hand; a swatch or try-on lets you assess the finished material directly.
Look at the folds and surface
Lift an edge of a swatch and let the rest fall. Look at whether it forms small, loose folds or holds a broader shape. Turn it in the light to see the surface sheen and how prominently the grid reads. Handle the reverse as well as the face, especially if it will sit against a thin base layer.
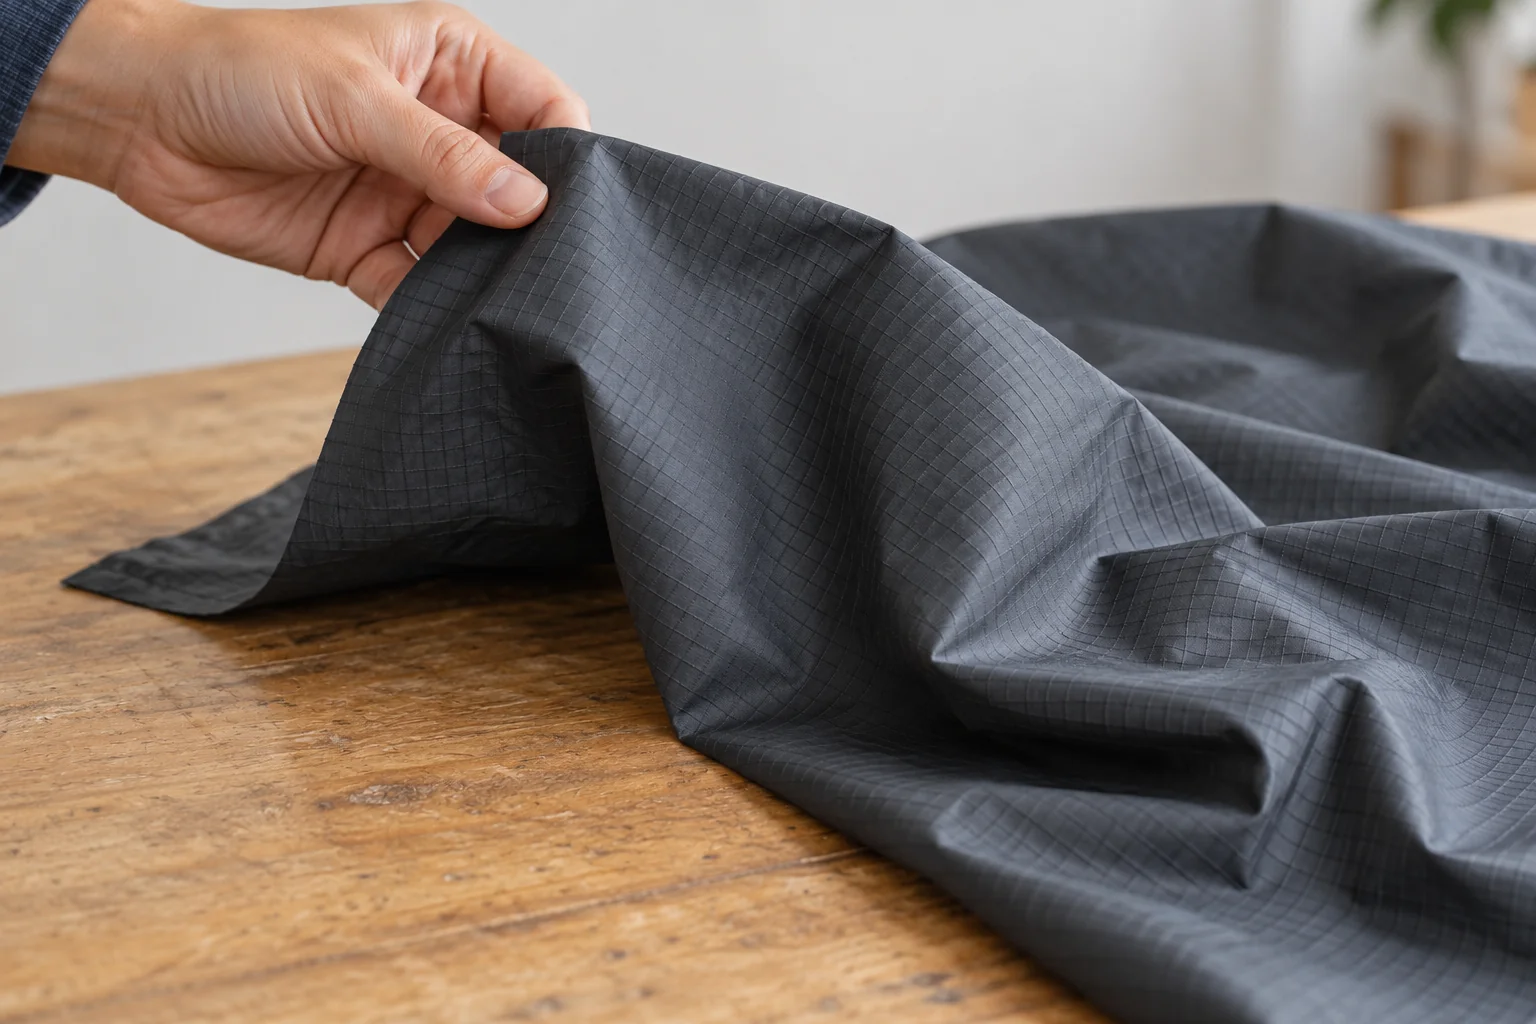
For a softly folded overshirt, look for a sample that settles into that shape. For a jacket with a more defined outline, examine how the front, collar and hem hold their shape when worn. Use denier and GSM to describe each candidate, then make the silhouette decision on the garment itself.
Check it over the layers you wear
Try the shell over your usual tee, shirt or hoodie. Close it, reach forward, bend your arms and let the sleeves settle. Look for a trapped inner cuff, bunching around the elbow or a hem that lifts and stays caught on the layer beneath.

If the sleeve catches, compare a less bulky inner layer or a roomier outer sleeve. If movement feels comfortable but the outfit loses a hem you wanted visible, compare garment lengths. The streetwear layering and proportions guide walks through those hem, sleeve and shoe relationships.
For trousers, repeat the check while sitting and walking, with your normal waistband position and shoes. Notice where the cloth pulls or gathers. Decide on the intended fit before treating a change in fabric weight as the answer to a cut that does not work for you.
Before you choose: collect the useful details
Keep a short comparison note for each candidate:
- Fibre content: the shell composition, with lining listed separately where applicable.
- Yarn and cloth weight: stated denier and GSM, including whether the fabric mass covers its finish or coating.
- Construction: a close view of the grid; include a scale reference if you want to compare repeat size.
- Finish and feel: coating or treatment description, surface feel and the folds you see when handling it.
- Outfit fit: the intended inner layer, visible hem and cuff positions, and what happens after reaching, sitting or walking.
When a garment listing gives only “ripstop nylon,” ask the maker or retailer for the missing fabric details. Start with the wardrobe role it needs to fill—the street-casual capsule checklist can help you compare it with clothes you already use. Find more outfit and material guides in the blog.