Choosing the wrong service fails a city garment that only has a hole, a dead zipper, or a fit problem. Confirm the cloth, the original cut, and how long you have worn it, then pick the row that matches before you hand it over.
Someone searching clothing repairs Melbourne usually finds a shop menu or a list of alteration businesses. Those pages name hems, zippers, holes and restyles. This page lines each damage up with the service to ask for and the note to carry in, for one daily city garment that has a hole, a failed zipper, or a fit problem. You pick a darn, a patch, a zipper replacement, a seam repair, a hem, a waist or seam adjustment, an elastic replacement, or a restyle. You change that pick when the cloth, the original cut, or the wear date makes it the wrong service. Wedding clothes, shoes, and sewing steps sit outside this page. Dollar prices and turnaround times stay off it as well. You confirm both with the shop after a person has seen the garment.
Key points:
- Record the cloth, whether the original cut stays, and when you started wearing the piece.
- Use one row of the matrix for each damage. Two damages are two services.
- At the consultation, confirm the service, what has to be opened, what you will see, the cost of this garment, and the pickup day.
- At pickup, try it on with the same shoes and check the area you agreed.
What do you write down before you go?
Write three limits on one note. The service in the next section is only as good as that note.
Cloth. Say knit or woven if you can see the structure. A knit is loops. A woven is threads crossing. If a label is still readable, copy the fibre words onto the note. If the label is gone, write “fibre unknown” and let the shop look. LookSmart’s tailor FAQ, read on 11 October 2026, says silk and lace are more delicate to alter than other fabrics. If your label says silk or lace, say those words out loud. Do not invent a fibre from how the cloth feels.
Original cut. Write “keep the cut” or “change the cut”. A repair puts a hole, a zipper, a seam, a hem, a button, or elastic back into the garment you already have. A restyle changes the silhouette. AD Stitch’s Melbourne page, read on 11 October 2026, publishes those as separate menus. Restyling on that page covers a new silhouette, combining garments, and a new neckline. Repairs on that page cover tears, zippers, buttons, seams, hems, elastic, and pockets.
Wear date. Write the season or year you started wearing it, and whether the damage showed this month or has been spreading. LookSmart’s FAQ on the same day says the condition and age of the garment change the job. A worn piece may need more repair than a newer one, and cloth for lengthening or letting out can be hard to match. The wear date is what you tell them. It is not a rule that a garment of a certain age is finished.
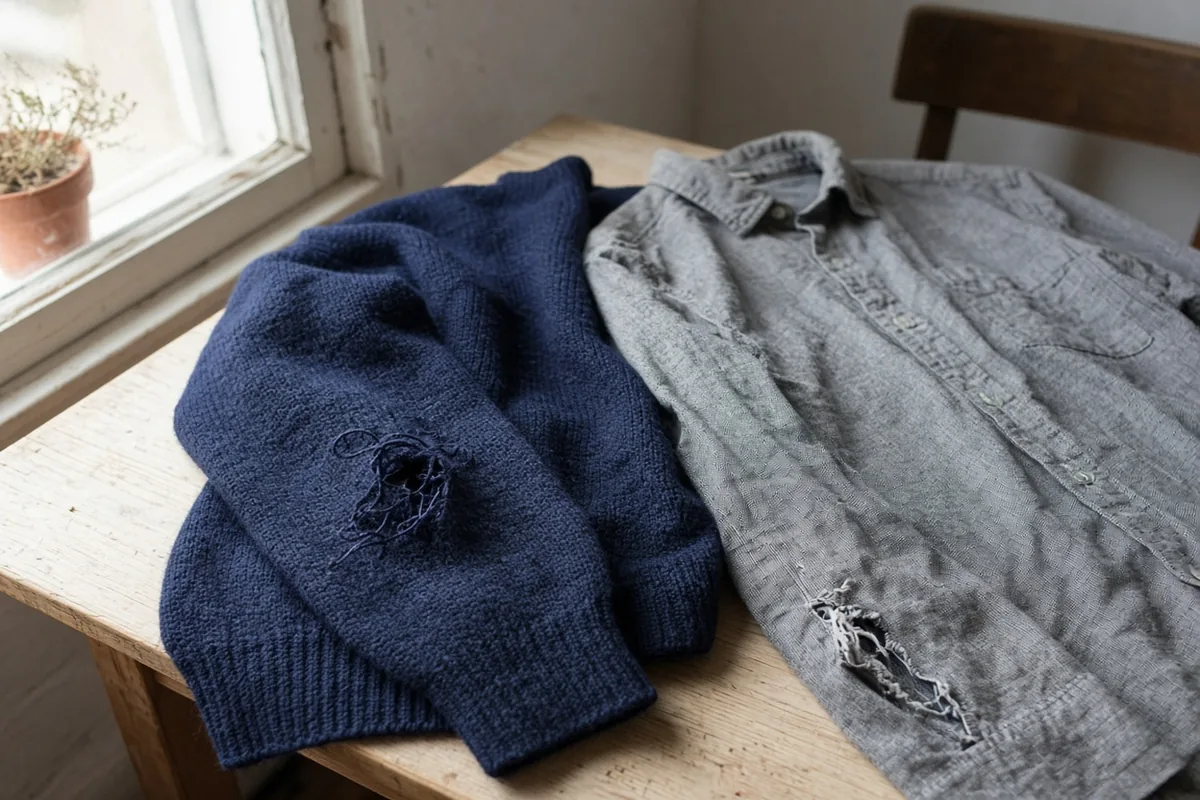
Example of a knit hole beside a woven tear. The loops and the crossed threads are why the next table asks for a darn or a patch. This is not a photo from a named shop.
Takeaway: Three lines on the note, cloth, cut, and wear date, decide which row you are allowed to ask for.
Which service matches this damage?
Ask for the service in the row that matches the damage, and only if your note still allows it. If the garment has two damages, name two rows. LookSmart’s FAQ says the number of jobs is one of the things that changes the cost, so say “two jobs” at the start.
The service names below are the ones these shops publish. Second Stitch’s alterations page and AD Stitch’s repairs page were read on 11 October 2026. A shop you visit may use other words. Ask them to point at the row you mean.
| Damage on a daily city garment | Service to ask for | Information to bring |
|---|---|---|
| Hole in a knit: jumper, knit tee, knit dress | Darning. Second Stitch lists “Darn Holes (Knits)” as its own repair. | The garment. Photos of the hole, outside and inside, in daylight. Fibre words from the label, or “fibre unknown”. The date the hole appeared. |
| Hole or rip in a woven: shirt, woven trousers, woven skirt | Patching. Second Stitch lists “Patch Holes (wovens)” separately from the knit darn. | The same photos. Say whether you will accept a patch you can see. |
| Zipper that sticks, splits, or has lost its pull | Zipper repair or replacement. AD Stitch lists this for jackets, dresses, jeans, and coats. Second Stitch lists a fly zip separately from other zip replacements. | Which zipper: fly, side, or centre front. A photo of the teeth and the pull. Say if the cloth beside the tape is torn. Say you want the zipper working and the cut kept. |
| Split or loose seam | Seam repair. AD Stitch lists this to put strength back into the seam. | A photo of the open seam. If you can see spare cloth inside the seam, say so. Say whether you sit or reach across that seam. |
| Hem too long, or a frayed edge you want cleaned up | Take up the hem, or a fraying repair. Both source pages list hemming. AD Stitch also lists fraying repairs. | The shoes you wear with it. Where you want the hem to sit when those shoes are on. |
| Waist, seat, or a fit that pulls or bags, and the note says “keep the cut” | Waistband adjustment, or tailoring the inner and outer seams. Second Stitch lists those separately from hole repairs. | When it last fit. Where it pulls or bags. The shoes. The words “keep the original cut”. |
| You wrote “change the cut” | Restyling. AD Stitch publishes this apart from repairs: a new silhouette, combining pieces, or a new neckline. | The sentence “change the cut”, plus one sentence on the shape you want. The garment. |
| Elastic that has stretched in a waistband, sleeve, or neckline | Elastic replacement. AD Stitch lists elastic repairs in those places. Second Stitch lists replacing an elastic waistband as its own line. | Where it has stretched. Whether the cloth next to the elastic is thin. |
| Thin or holed crotch on trousers | Crotch repair. Second Stitch lists “Crotch Hole” as its own repair, separate from a general patch. | How long you have worn the trousers. A photo of the thin area, outside and inside. |
| Loose or missing button, or a sleeve cuff that has a button | Button repair, or a cuff alteration that includes the button. Second Stitch lists taking up cuffs with a button separately from cuffs without one. | A photo of the original button. A spare if you still have one that matches. Say if the cuff also needs to be shorter. |
| Lined jacket, and the damage sits where the lining is | Ask whether the job opens the lining or replaces it. Second Stitch lists full lining replacement as its own jacket and coat job, separate from a zip. | Say the jacket is lined. A photo of any tear in the lining. Name the details that must stay: pocket shape, buttons, hem finish. |
A knit hole and a woven hole are different asks, even when both look like “a hole” on the bus. A cuff with a button is a different ask from a cuff without one. A lining that has to come out is a different ask from a zip on an unlined jacket.
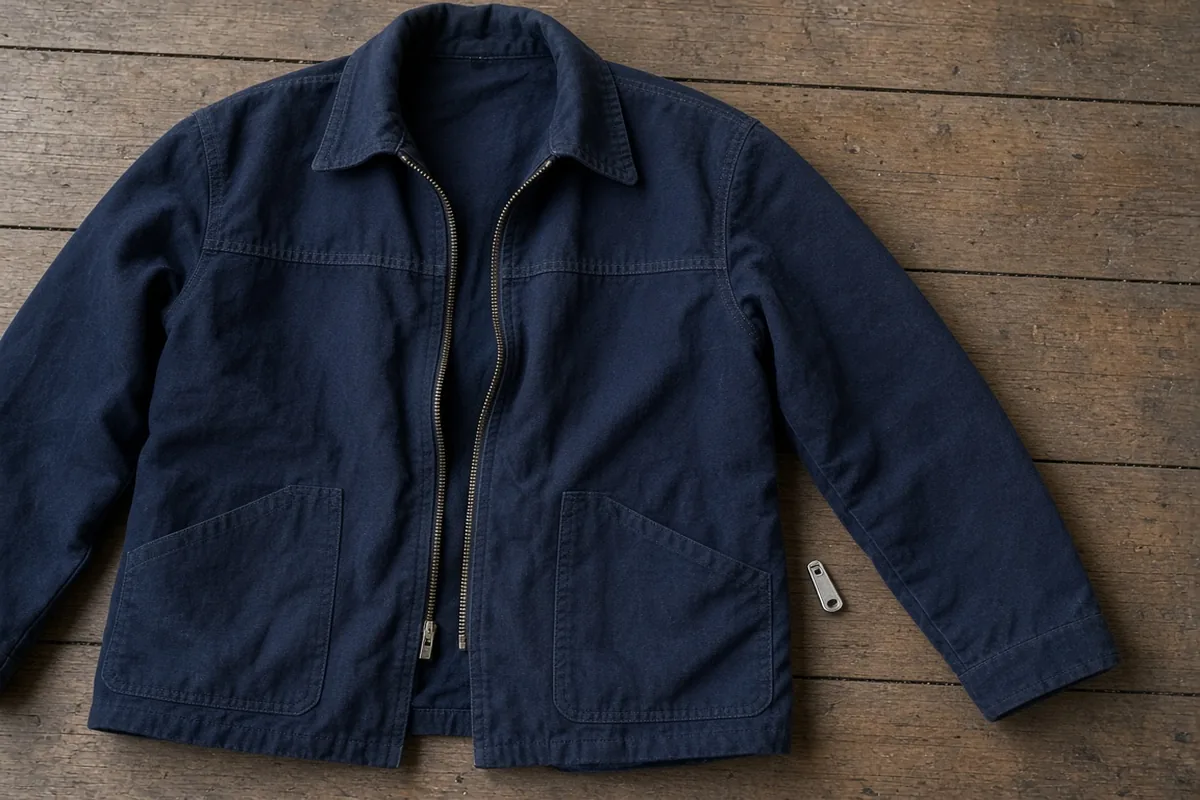
Example of a failed jacket zipper. Photograph the teeth and the pull like this, in daylight, before you ask for a replacement. This is not a photo from a named shop.
Takeaway: One row per damage. If the cloth, the cut, or the lining does not match that row, move to the row that does.
What do you confirm before you leave the garment?
Do this list in order. The first half happens at home. The second half happens while you can still take the garment back.
Consult prep, before you leave home:
- Write the damage in one line: hole, zipper, or fit, and where it sits on the body.
- Add the three limits: cloth (knit, woven, or unknown, plus any fibre on the label), “keep the cut” or “change the cut”, and the wear date.
- Photograph each damage, outside and inside, in daylight. Include the zipper teeth and the pull if the zipper is the job.
- Pack the shoes you will wear with the garment. LookSmart’s FAQ, read on 11 October 2026, says to bring those shoes so the length can be set to that pair.
- If the change is above the waist, on a dress or a top, wear the bra or shapewear you will actually wear with it. The same FAQ gives that instruction for a dress, a wedding dress, or anything altered above the waist. This page is for a daily garment, and the underlayer point still applies to a dress or top you wear in the city.
- If you have a spare button that matches, put it in a small bag with the garment. If you do not, the photo of the original button is the record.
At the consultation, confirm these before you hand the garment over:
- The service name for each damage: darn, patch, zipper replacement, seam, hem, waist or seam adjustment, elastic, crotch, button or cuff, lining, or restyle.
- What they have to open to do it. Ask about the lining, the fly, and a cuff with a button. Second Stitch says jobs are categorised by complexity and then assigned. Ask which service this garment is being graded as, and what about this cloth makes it more complex.
- What you will see when it comes back, on the outside and the inside. LookSmart’s Melbourne page says the company can ensure invisible repair work on holes, seams, zips, or frayed areas. That sentence is the company’s claim, read on 11 October 2026. Ask this shop what will show on your cloth, and write that answer down.
- The cost of this garment, after a person has seen it. Second Stitch says its menu is a guide and the final price is set by the complexity of the job. LookSmart’s FAQ says the cost follows the type of alteration, the number of jobs, the condition and age, the fabric, and extra details such as beading. This page does not copy a dollar menu.
- The pickup day for this job. LookSmart’s FAQ says the time depends on the complexity and on busy periods. Ask which day they expect this garment to be ready, and how they will tell you. Second Stitch says they send a text when the mended item can be collected. That is their process. Ask the shop in front of you what they do.
- What this shop does if the fit is still wrong when you try it on. Ask that before you leave the garment there.
Common mistake: accepting “we will make it invisible” or “it will be quick” without a service name, a cost for this garment, and a pickup day. Those three are the record of the job.
What do you check when you pick it up?
Wear the same shoes you took to the consultation. If the job was above the waist, wear the same bra or shapewear. Try the garment on before you accept it.
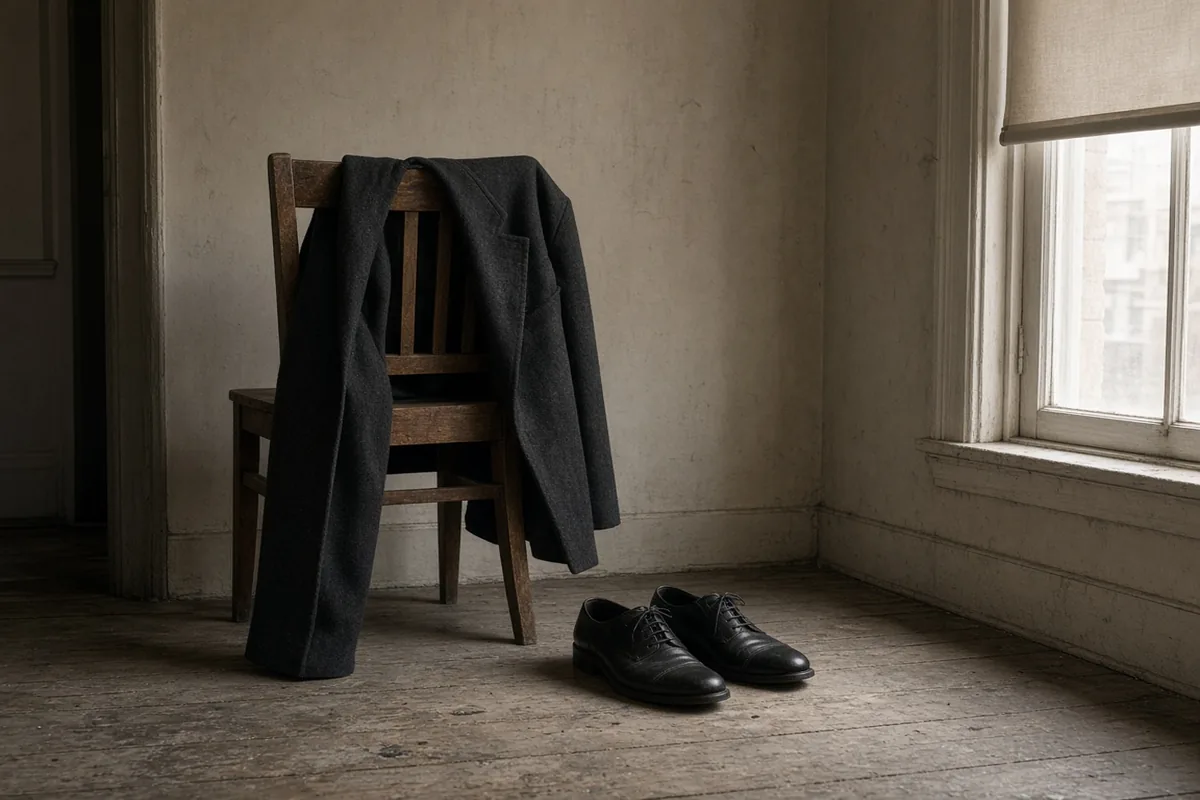
Example of the shoes set beside the garment. Wear this pair at pickup so the hem and the fit are judged on the same shoes you brought in. This is not a photo from a named shop.
Pickup try-on:
- Put the garment on with those shoes and stand. Sit if the job was the seat, the waist, or the crotch. Walk a few steps if the job was the hem.
- If the job was a zipper, run it up and down once.
- Look at the agreed area in daylight: the hole, the seam, the hem, the elastic, the crotch, or the cuff.
- Check the details you asked to keep: buttons, pocket shape, lining, and the original hem finish if that was not the job.
- Look at the cloth around the repair for a new pull or a hole that was not in your photos.
- If the fit is still wrong, or the service does not match what you confirmed, say so before you leave. Ask what this shop does next. Do that while you are still in the shoes.
Takeaway: The try-on uses the same shoes and the same underlayer as the consultation. A fit you have not worn is still an open question.
When this checklist does not apply
This page is for one daily city garment and a consultation. It leaves out other jobs.
- Shoes. Nothing here tells you how to repair a sole, a heel, or a strap.
- Wedding dresses and bridal parties. LookSmart describes those as their own service. The shoe and underlayer notes above are the only part of that FAQ this page uses, and only for a daily dress or top.
- Sewing at home. There is no stitch method, needle size, or patch recipe on this page.
- A missing button on an otherwise sound garment that you are packing for a clothes swap. The November 2026 Whitehorse listing treats a missing button as a minor fault the host calls easy to repair. That decision sits on the Melbourne clothes-swap preparation guide. A hole, a failed zipper, or a fit change is this checklist, not that bag.
- Selling the garment instead of repairing it. Payment timing is a different errand, covered in when Melbourne selling shops pay.
How this page was put together
The service names in the matrix come from Second Stitch’s alterations page and AD Stitch’s restyling and repairs page, both read on 11 October 2026. Second Stitch also describes a consultation as talking to a seamstress, then categorising the job by complexity. It says the published menu is a guide and the final price follows that complexity. AD Stitch separates restyling from repairs and lists the repair types in the table. LookSmart’s Melbourne tailor page, read the same day, supplies the consultation notes on shoes, underlayers, condition and age, delicate fabrics, cost factors, and timing. Its sentence about invisible repair work is quoted as that company’s claim.
The search snapshot for “clothing repairs Melbourne” is an Australian English desktop results page collected on 11 October 2026. It was read from cache and not bought again. Shop menus and a list article dominate those results. This page adds the damage matrix and the two checklists. It does not rank shops, copy a price, or give a turnaround.
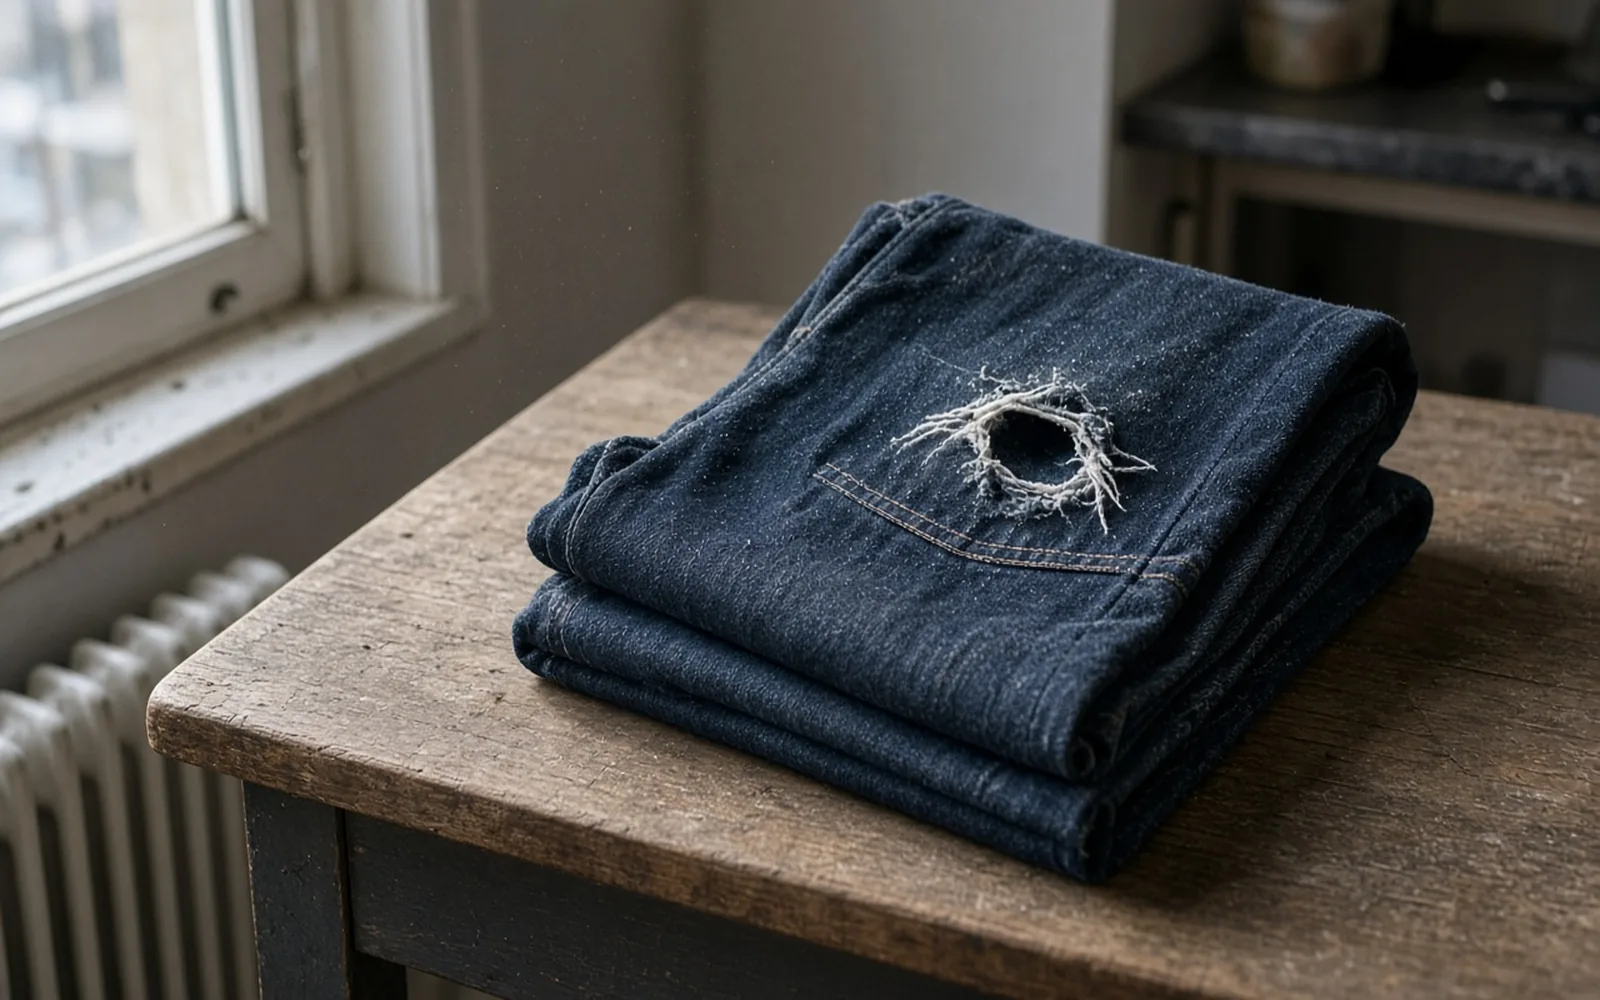
No one from this site mended a garment, timed a shop, or tried on a repair for this guide. The photographs are examples of a hole, two cloths, a zipper, and shoes beside a garment. They are not photos from Second Stitch, AD Stitch, LookSmart, or any other named shop. The site is an independent guide. It is not the Melbourne street style blog that previously used this domain, its author, or anyone photographed there. See About. Updated 13 October 2026.
Related reading
- What to bring to a Melbourne clothes swap if the only fault is a missing button and you are packing for a listed swap.
- When Melbourne selling shops pay if the garment is leaving the wardrobe instead of going to a consultation.
- All articles for the other wardrobe guides on this site.